Recent articles on Avyatech blog
- Artificial Intelligence (1)
- AWS (1)
- DevOps (4)
- eCommerce (9)
- Laravel (17)
- Magento 2 (9)
- Mobile App Development (4)
- PHP (2)
- Quality Assurance (1)
- SaaS (2)
- SEO (9)
- Support & Maintenance (1)
- Tech (14)
- WooCommerce (16)
- WordPress (14)
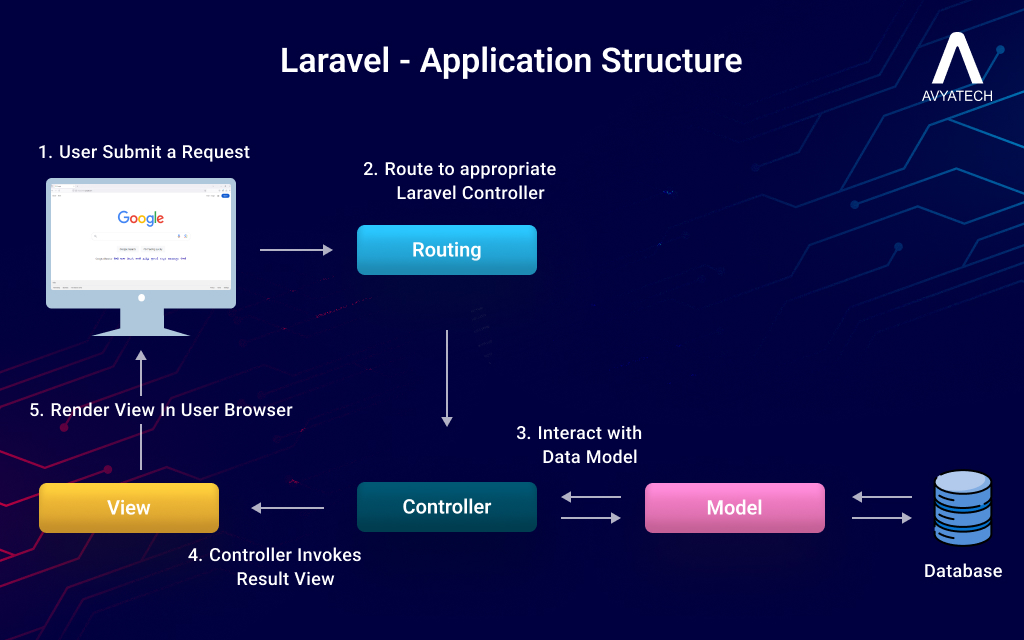
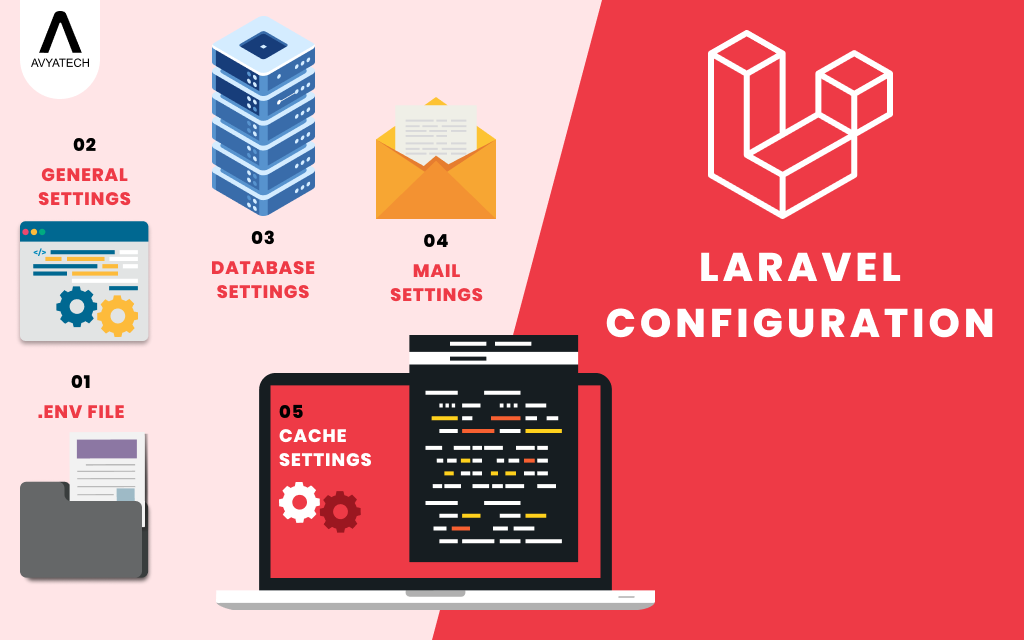
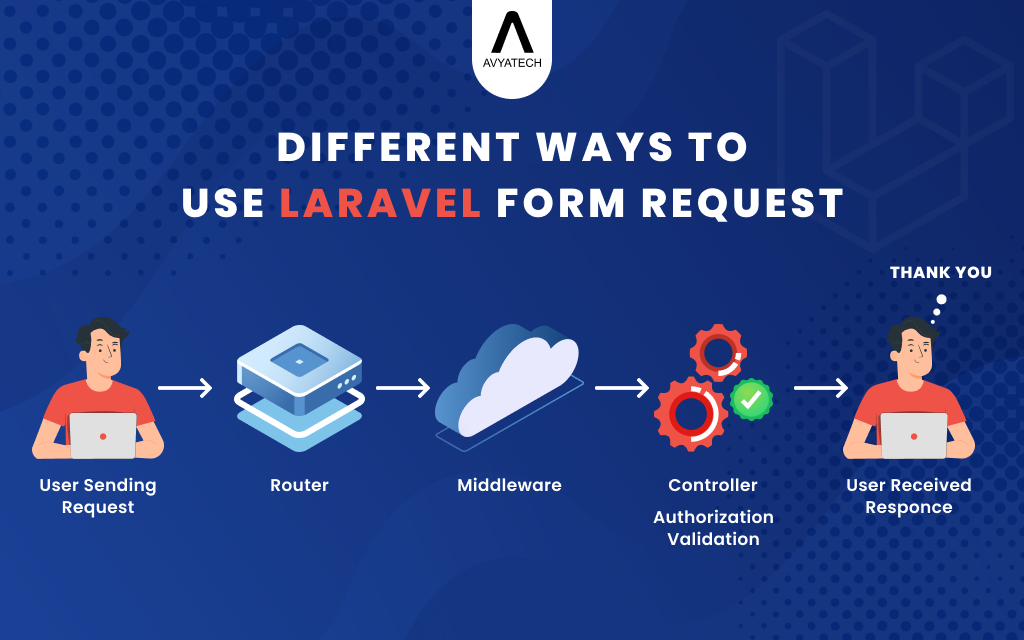
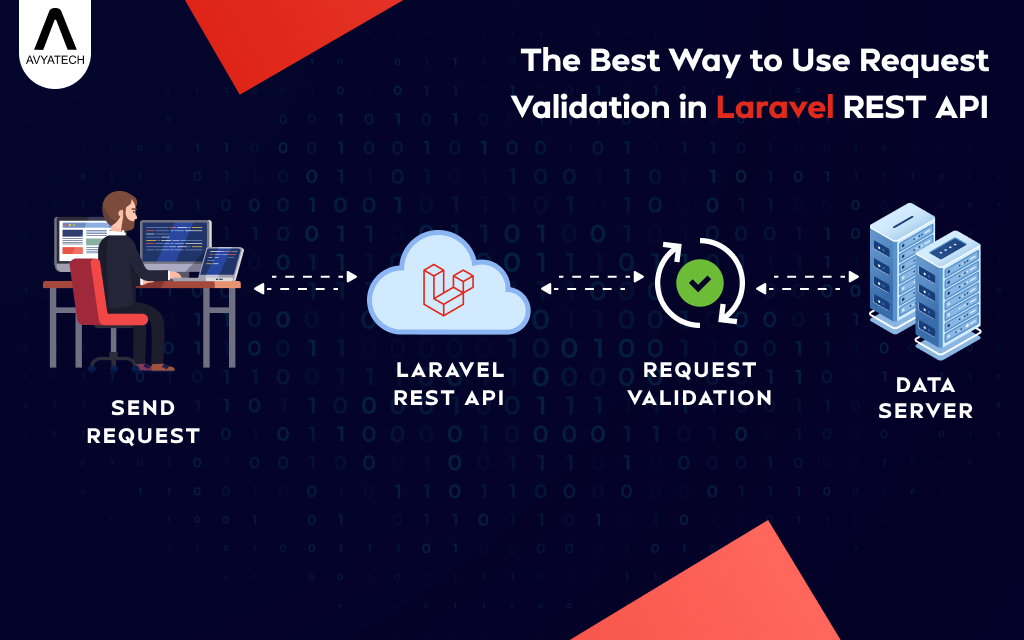
Category: Laravel


Let’s create something beautiful and innovative together! call us now!
Chat with our seniors to see if we have a good match