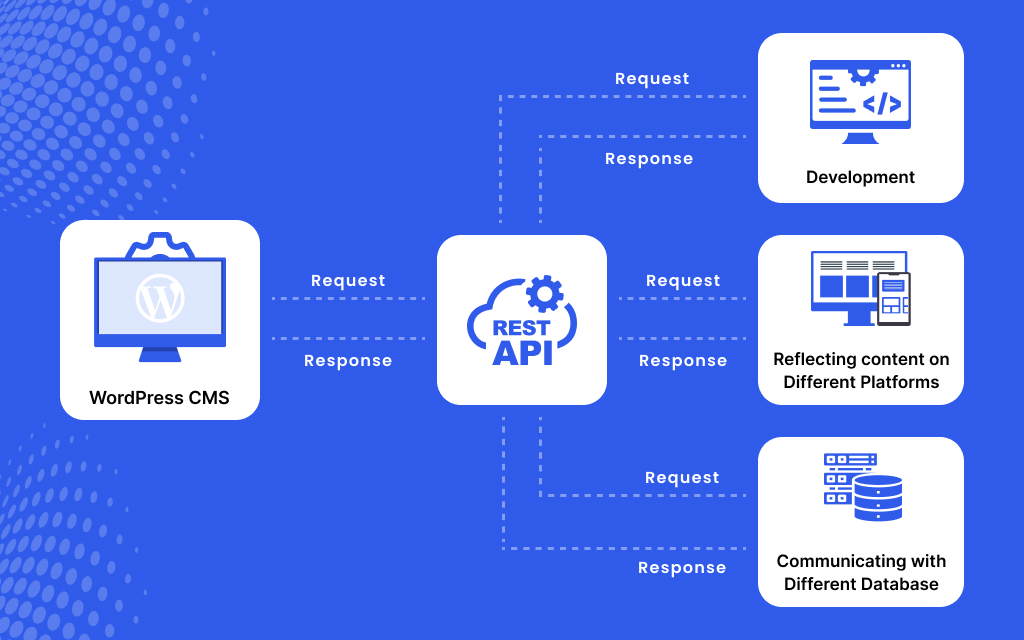
woocommerce android app

The most important thing that we are going to share with you guys today, that is how to verify woocommerce in the android app. Let’s check out the steps for Woocommerce authentication in the Android app.

Verify Woocommerce in Android App

WooCommerce Settings

1. Login to a WordPress site, the menu will be displayed at the left side of the page from there select WooCommerce and select Settings menu under WooCommerce menu.

Woocommerce in Android App

2. Setting options will appear in the content window select the API tab. And select settings under the API section. Check the Enable REST API checkbox to allow rest API access.

Woocommerce in Android App 2

3. Select Keys/Apps tab under API section to add a key for user and click Add key button, add a description for the key and select user for which key will be generated. Always select Permission as Read/Write to have access to REST API for GET and POST methods.

Woocommerce in Android App 3

4. Add key by providing details. And click on Generate API key button Consumer key and consumer secret keys will be generated
verify woocommerce in the android app

Android Setting

1. Add scribe library to android project in app/libs folder.
2. Add the consumer key and consumer secret key in Strings.xml file

verify woocommerce in the android app

3. Create an oAuth service by providing consumer key and consumer secret key to request oAuth token for authorization.

verify woocommerce in the android app

4. Create an oAuth request with request method:

? For GET method:

verify woocommerce in the android app
? For POST method:

verify woocommerce in the android app
final Object being the JSONOBJECT with all required parameter values to post to API.

5. Send scribe signed request based on the async http client method to construct a signed request for oAuth service. And send the request to server.

Woocommerce in Android App 9

verify woocommerce in the android app

Get Products From Woocommerce Store:

1. Call the products API and pass category ids in URL, it will list all products of a category. It might be possible that a category have subcategories in it, in that case pass all subcategories with URL and all products for all subcategories mentioned in URL will be listed

2. In product response each product will have categories array, will list categories under which product lies, get thode category name or category id and filter products on subcategory ids. Suppose Category1 has three subcategories then pass all three subcategory ids in products api.

http://your_wordpress_site/wordpress/wp-json/wc/v2/products/?category=26,27,28
Product response will have categories array:

"categories": [
{
"id": 26,
"name": "Subcategory",
"slug": "subcategory"
}
],

While displaying subcategory with its products, filter this list based on current subcategory we are displaying.

Author: Chandan Kumar

Tags: , ,

Recent Posts

Categories

Tags

21 responses to “Steps to Verify Woocommerce in Android App

  1. Rahul Bansal September 20, 2017 at 3:56 pm

    Hi avyatech.com
    This is Very Good Article Keep Doing Woorking

  2. Amit Kapoor September 21, 2017 at 11:43 pm

    Hi,
    Thanks for sharing such type of post.

    1. Chandan Kumar October 26, 2017 at 10:43 am

      Your most welcome Amit, Keep subscribe us to get the latest info.

  3. NEHA September 22, 2017 at 6:37 pm

    Thanks for a great article

  4. Sanjay Jindal September 25, 2017 at 5:32 pm

    “I have just visited your website, and I think it’s great.”

    1. Chandan Kumar October 26, 2017 at 10:43 am

      Thank you for visiting our site.

  5. Rahul Bansal September 26, 2017 at 5:20 pm

    Fantastic Blog! I agree completely with you here. It is a very valuable and helpful collection of blogs. I am trying to gain information from all these. Really helpful post. Thank you..!!

    1. Chandan Kumar October 26, 2017 at 11:02 am

      Thank you so much, Rahul, to visit my blog and share your valuable feedback.

  6. kinder8 September 27, 2017 at 7:17 pm

    thank you for sharing this information

  7. mohit September 28, 2017 at 9:49 pm

    this post is really helpfull for us n thanks for this post.

  8. Amit Kapoor October 2, 2017 at 1:37 pm

    Hi,

    very good information. Thanks for sharing,

  9. Ibrahim November 24, 2017 at 7:45 pm

    Hey What is in the RequestToken.class. I cant understand. Can you help me with the full source code? Thanks a lot.

    1. Chandan Kumar November 27, 2017 at 6:25 pm

      Hi

      I really glad to give an answer to your query, Please find the code details and mail me if you need more help with it. RequestToken class is used for oAuth purpose to get the Access token and verify the user. package com.avyatech.woocommerceapp;

      import org.scribe.builder.api.DefaultApi10a;
      import org.scribe.model.Verb;
      import org.scribe.model.Token;

      /**
      * Created by avyatech3 on 5/31/2017.
      */

      public class RequestToken extends DefaultApi10a{
      @Override
      public String getAccessTokenEndpoint() {
      return null;
      }

      @Override
      public String getRequestTokenEndpoint() {
      return null;
      }

      @Override
      public String getAuthorizationUrl(Token requestToken) {
      return null;
      }

      @Override
      public Verb getAccessTokenVerb() {
      return Verb.GET;
      }

      @Override
      public Verb getRequestTokenVerb() {
      return Verb.GET;
      }
      }

  10. Danny williams December 19, 2017 at 11:06 am

    Great information you have to share here.

  11. Emil June 12, 2018 at 10:45 am

    Where can I find scribe library? And download .jar file?

      1. Emil June 16, 2018 at 11:03 am

        I have some questions.
        Which version do you use?
        I am getting from consumer his login and password for site based on wookomercy – what do I need to do?
        How can I made authorization by it?
        Please answer me – i am noob

  12. Ben September 12, 2018 at 5:07 am

    Hi, i ve a problem when i do the request :
    “{“code”:”woocommerce_rest_authentication_error”,”message”:”Firma no v\u00e1lida – la firma proporcionada no coincide.”,”data”:{“status”:401}}”

    Great info!

Leave a Reply

Your email address will not be published. Required fields are marked *