Role based authentication is an authorization mechanism for Laravel applications. In this Laravel role-based authentication tutorial, we will see how to perform role-based authorization in Laravel from scratch. This Laravel 8 role-based authentication example will create different admin panels for admin and super admin for role-based Laravel authorization.
In this role based authentication in Laravel, we will create middleware to control user access. Sometimes we need to create an admin panel by creating role based authentication or login systems in Laravel.
Before starting with role-based authentication and authorization in Laravel, let’s understand what role-based authorization is and what we can achieve with this.
Let’s imagine we are building an application that a variety of customers will use. However, some parts of the application should only be accessible by customers having a certain privilege.
This is where a role-based authentication system comes into the picture. We have to create a few extra tables in your database to define all the roles in your application and map our users to certain roles.
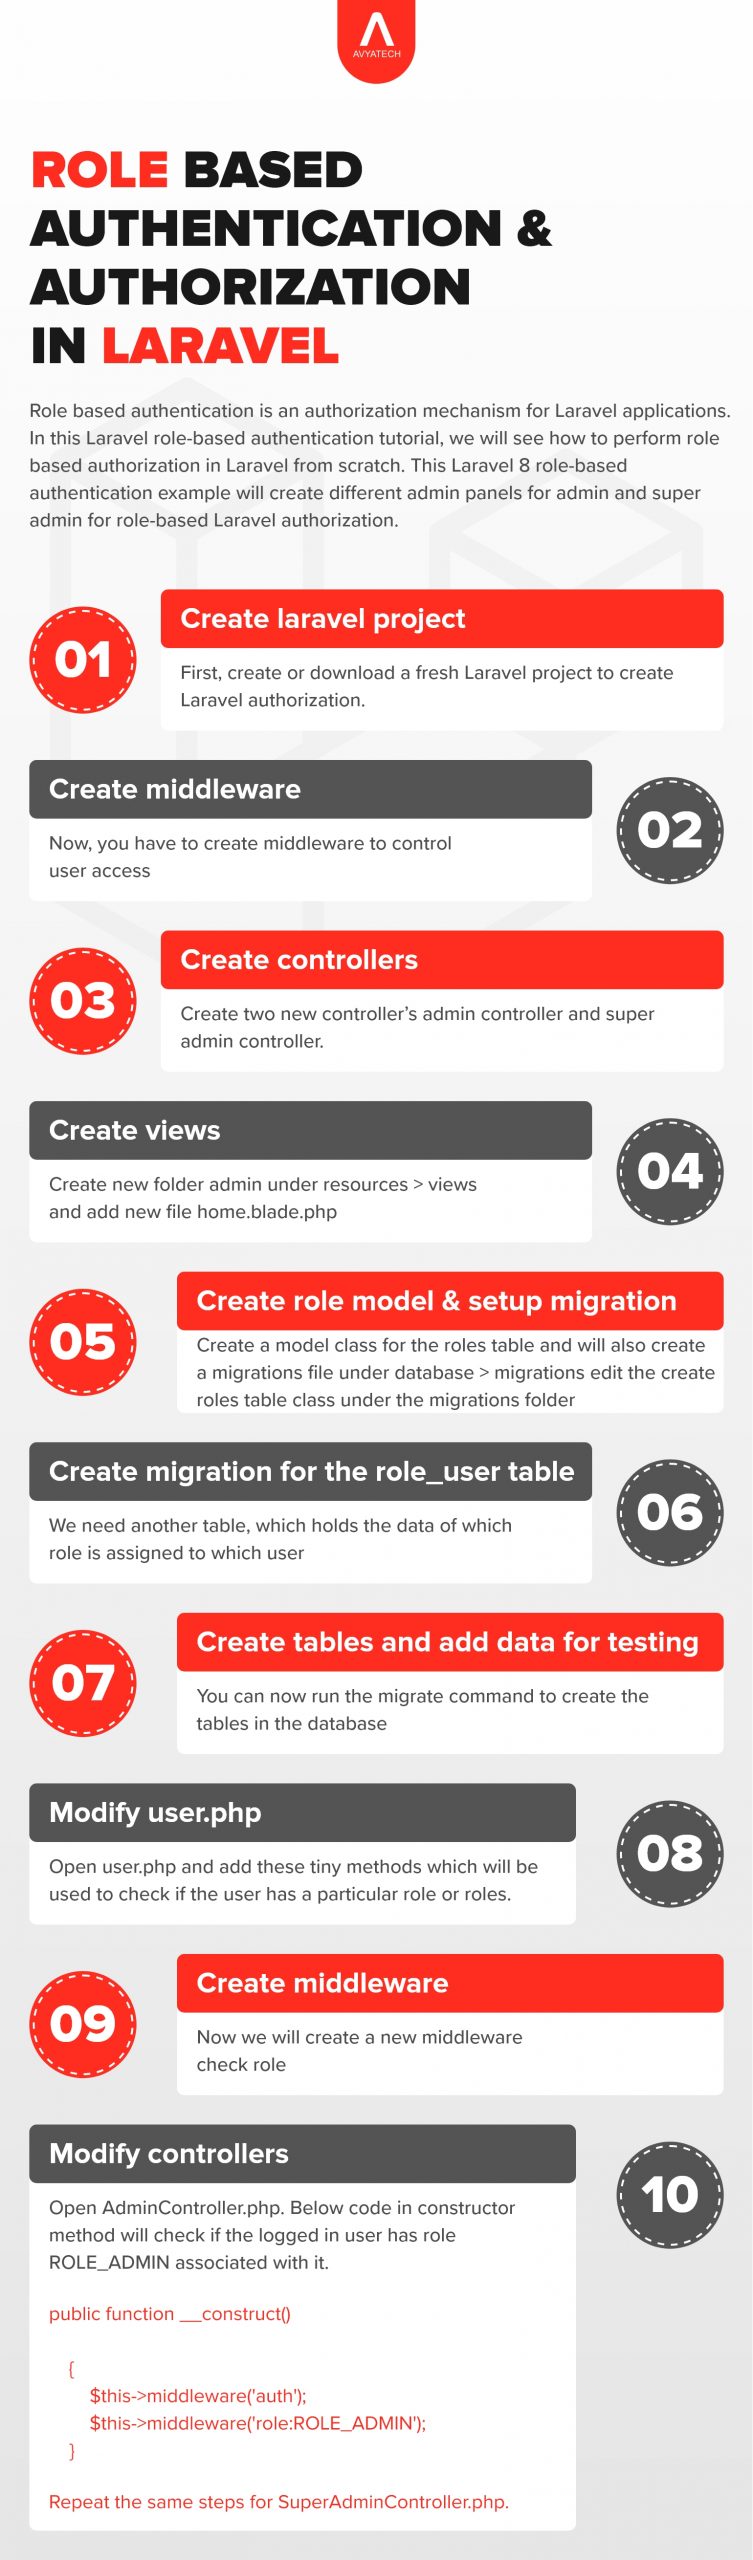
Step-1: Create laravel project
First, create or download a fresh laravel project to create laravel authorization.
Step-2: Create middleware
Now, you have to create middleware to control user access by writing the following command:
php artisan make:middleware CheckRole
Step-3: Create Controllers
Let’s create two new controller’s AdminController and SuperAdminController.
php artisan make:controller AdminController

php artisan make:controller SuperAdminController
Next, add index method to both the controller
//Index method for Admin Controller

    public function index()
    {
        return view('admin.home');
    }

    //Index method for SuperAdmin Controller
    public function index()
    {
        return view('superadmin.home');
    }
The index method from AdminController returns the home page from the admin folder and the index method for SuperAdmin Controller returns the home page which is in the super admin view folder.
Step-4: Create Views
Create new folder admin under resources > views and add new file home.blade.php
@extends('layouts.app')

@section('content')
<div class="container">
    <div class="row">
        <div class="col-md-8 col-md-offset-2">
            <div class="panel panel-default">
                <div class="panel-heading">Admin Dashboard</div>

                <div class="panel-body">
                    @if (session('status'))
                        <div class="alert alert-success">
                            {{ session('status') }}
                        </div>
                    @endif

                    This is Admin Dashboard. You must be privileged to be here !
                </div>
            </div>
        </div>
    </div>
</div>
@endsection
Next, create a new folder superadmin under resources > views and add a new file home.blade.php
@extends('layouts.app')

@section('content')
<div class="container">
    <div class="row">
        <div class="col-md-8 col-md-offset-2">
            <div class="panel panel-default">
                <div class="panel-heading">Super Admin Dashboard</div>

                <div class="panel-body">
                    @if (session('status'))
                        <div class="alert alert-success">
                            {{ session('status') }}
                        </div>
                    @endif

                        This is the Admin Dashboard. You must be super privileged to be here !
                </div>
            </div>
        </div>
    </div>
</div>
@endsection
Add route entry into routes / web.php file
Route::get('/admin', 'AdminController@index');

Route::get('/superadmin', 'SuperAdminController@index')
Step-5: Create the Role model and setup migration:
php artisan make: model Role -m
The above command will create a Model class for the roles table and will also create a migrations file under database > migrations Edit the CreateRolesTable class under the migrations folder
<?php

use Illuminate\Support\Facades\Schema;
use Illuminate\Database\Schema\Blueprint;
use Illuminate\Database\Migrations\Migration;

class CreateRolesTable extends Migration
{
   /**
     * Run the migrations.
     *
     * @return void
     */
    public function up()
    {
        Schema::create('roles', function (Blueprint $table) {
            $table->increments('id');
            $table->string('name');
            $table->string('description');
            $table->timestamps();
        });
    }

   /**
     * Reverse the migrations.
     *
     * @return void
     */
    public function down()
    {
        Schema::dropIfExists('roles');
    }
}
Step-6: Create Migration for the role_user table:
We need another table, which holds the data of which role is assigned to which user.
php artisan make:migration create_role_user_table
Edit the CreateRoleUserTable class in the migrations folder:
<?php

use Illuminate\Support\Facades\Schema;
use Illuminate\Database\Schema\Blueprint;
use Illuminate\Database\Migrations\Migration;

class CreateRoleUserTable extends Migration
{
   /**
     * Run the migrations.
     *
     * @return void
     */
    public function up()
    {
        Schema::create('role_user', function (Blueprint $table) {
            $table->increments('id');
            $table->integer('role_id')->unsigned();
            $table->integer('user_id')->unsigned();
            $table->timestamps();
        });
    }

   /**
     * Reverse the migrations.
     *
     * @return void
     */
    public function down()
    {
        Schema::dropIfExists('role_user');
    }
}
Next, we need to provide a many-to-many relationship between User and Role
Add roles() method to your User.php class
public function roles()

    {
        return $this
            ->belongsToMany('App\Role')
            ->withTimestamps();
    }
Add users() to your Role.php class
public function users()

    {
        return $this
            ->belongsToMany('App\User')
            ->withTimestamps();
    }
Step-7: Create tables and add data for testing:
You can now run the migrate command to create the tables in the database
php artisan migrate
Running the Migrate command creates the following tables in your database. You can choose to fill the data for testing either manually or via Seeding.
- Migrations
- Password_resets
- Roles
- Role_user
- users
We have created two Roles with the name ROLE_ADMIN and ROLE_SUPERADMIN. Users assigned the role of ROLE_ADMIN should have access to the Admin Section of the Application. The same applies to super admin users.
- Role Admin
- Super Admin
You can register a new user’s by going into /register url, after you have added a few user’s you can assign roles to users in the role_user table.
I have assigned some sample roles to the user.
Just a few more steps, Don’t give up !
Step-8: Modify User.php:
Open user.php and add these tiny methods which will be used to check if the user has a particular role or roles.
public function authorizeRoles($roles)

{
  if ($this->hasAnyRole($roles)) {
    return true;
  }
  abort(401, 'This action is unauthorized.');
}
public function hasAnyRole($roles)
{
  if (is_array($roles)) {
    foreach ($roles as $role) {
      if ($this->hasRole($role)) {
        return true;
      }
    }
  } else {
    if ($this->hasRole($roles)) {
      return true;
    }
  }
  return false;
}
public function hasRole($role)
{
  if ($this->roles()->where('name', $role)->first()) {
    return true;
  }
  return false;
}
With the above methods, if you are looking to check just against a single role you can make use of the hasRole method. Or You can check against multiple roles by passing an array to authorizeRoles method. Currently, we are only looking to compare against a single role, We will make use of the hasRole method. Let’s go ahead and create the Middleware for the same.
Step-9: Create Middleware:
Now we will create a new middleware CheckRole.
php artisan make:middleware CheckRole
Modify the CheckRole.php file under app > Middleware
<?php

namespace App\Http\Middleware;

use Closure;

class CheckRole
{
   /**
     * Handle an incoming request.
     *
     * @param  \Illuminate\Http\Request  $request
     * @param  \Closure  $next
     * @return mixed
     */
    public function handle($request, Closure $next, $role)
    {
        if (! $request->user()->hasRole($role)) {
            abort(401, 'This action is unauthorized.');
        }
        return $next($request);
    }
}
We have modified the handle method middleware to check for a given role. The next step is to register the middleware we just created. Open Kernal.php which is located under App > and modify array $routeMiddleware to include the role middleware.
protected $routeMiddleware = [
        'auth' => \Illuminate\Auth\Middleware\Authenticate::class,
        'auth.basic' => \Illuminate\Auth\Middleware\AuthenticateWithBasicAuth::class,
        'bindings' => \Illuminate\Routing\Middleware\SubstituteBindings::class,
        'can' => \Illuminate\Auth\Middleware\Authorize::class,
        'guest' => \App\Http\Middleware\RedirectIfAuthenticated::class,
        'throttle' => \Illuminate\Routing\Middleware\ThrottleRequests::class,
        'role' => \App\Http\Middleware\CheckRole::class,
    ];
Step-10: Modify Controllers:
Open AdminController.php. Below code in constructor method will check if the logged in user has role ROLE_ADMIN associated with it.
public function __construct()

    {
        $this->middleware('auth');
        $this->middleware('role:ROLE_ADMIN');
    }
Repeat the same steps for SuperAdminController.php.
public function __construct()

    {
        $this->middleware('auth');
        $this->middleware('role:ROLE_SUPERADMIN');
    }
That’s it! Only privileged users can access certain parts of your application. So far, it was too much coding and reading. Now, only privileged users can access that part of the applications. Meaning, you will have complete control over which users will have how much access on a Laravel-based application—looking for Laravel app development services? Need to upgrade the existing Laravel application? You can contact Avya Tech, a trusted Laravel web development company, for any help related to the Laravel application.